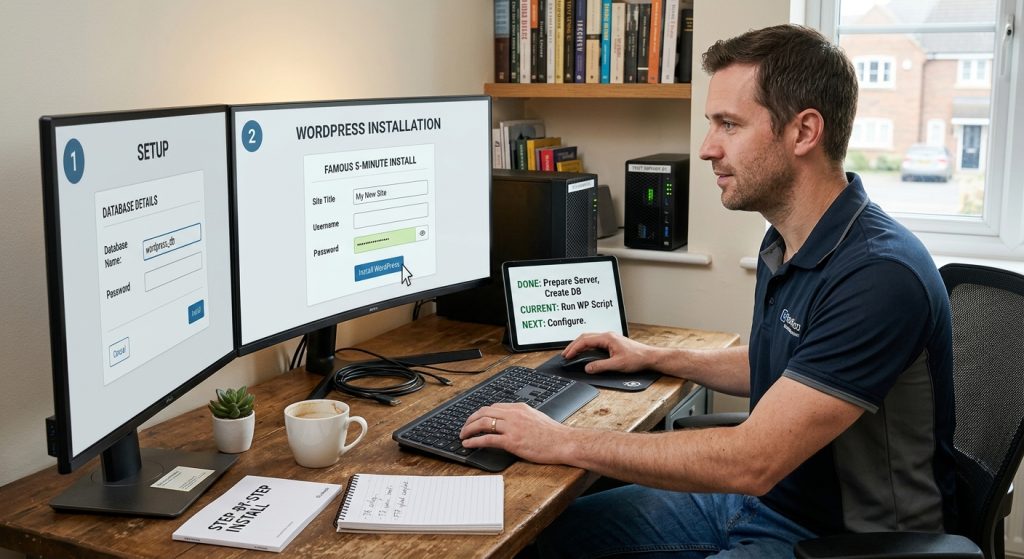
Installing WordPress used to be a challenge that required real technical knowledge. Today, most hosts have made it a one-click process. But the automated installers hide what is actually happening, and knowing the manual process helps when things go wrong or when you have specific requirements.
This piece covers how to install WordPress. The one-click method for beginners. The manual method for people who want more control. And what to do right after installation to have a working site.
What Installation Actually Does
Before the steps, the basics of what installation involves.
The Files
WordPress is a collection of PHP files. Installation puts these files on your web server. The files include the WordPress core, default themes, and some default plugins.
The Database
WordPress stores content, users, settings, and other data in a MySQL database. Installation creates the database and populates it with the initial WordPress structure.
The Configuration
A configuration file called wp-config.php tells WordPress how to connect to the database and includes other configuration settings. Installation creates this file with your specific settings.
The Setup Wizard
After the files and database are ready, WordPress runs a setup wizard that asks for basic information (site title, admin username, admin password). This creates the admin user account and finalizes the setup.
The One-Click Installation Method
Most modern hosts make this simple.
Step 1: Sign Up for Hosting
Pick a host and sign up for a plan. The earlier piece in this series covered choosing hosting.
Step 2: Access the Control Panel
After signing up, log in to your host’s control panel. Different hosts have different interfaces, but most have a way to install WordPress with a few clicks.
Step 3: Find the WordPress Installer
Look for a section called “WordPress,” “One-Click Installs,” “Software,” or something similar. The interface varies by host.
Step 4: Start the Installation
Click the WordPress installation option. The host will ask for some information:
Which domain to install on (if you have multiple domains).
Which directory (usually the root directory).
Site title.
Admin username.
Admin password.
Admin email address.
Step 5: Wait for Completion
The installation takes a few minutes. Do not close the browser or navigate away.
Step 6: Log In
Once complete, you can log in to the WordPress admin at yourdomain.com/wp-admin. Use the admin username and password you set during installation.
Your site is now up and running.
The Manual Installation Method
For situations where one-click installation is not available or when you want more control.
Step 1: Download WordPress
Go to WordPress.org and download the latest WordPress zip file. Extract it on your computer.
Step 2: Create a Database
Log in to your host’s control panel. Find the database management section (usually MySQL or MariaDB). Create a new database. Note the database name.
Step 3: Create a Database User
Create a database user for WordPress. Give the user a strong password. Note the username and password.
Step 4: Grant Permissions
Grant the new user full permissions on the new database. The specifics depend on your control panel.
Step 5: Upload WordPress Files
Connect to your server via SFTP. Upload the extracted WordPress files to the directory where you want the site to run (usually /public_html or /www).
Step 6: Configure WordPress
WordPress includes a file called wp-config-sample.php. Rename it to wp-config.php. Open it and edit the database settings with the database name, username, and password you created.
Also set the secret keys. WordPress.org provides a service that generates random keys. Paste them into wp-config.php.
Step 7: Run the Installation Wizard
Visit your domain in a browser. WordPress will detect that it is not yet fully installed and start the setup wizard. Enter the site title, admin username, admin password, and admin email.
Step 8: Complete the Installation
Click through the wizard. WordPress will create the admin user and finalize the setup. You can then log in.
Right After Installation
The site works now, but a few things should happen immediately.
Change Default Settings
Go to Settings > General. Set the site title and tagline appropriately. Set the correct time zone. Set the date and time formats you prefer.
Set Permalink Structure
Go to Settings > Permalinks. Choose “Post name” as the permalink structure. This gives you clean URLs like yoursite.com/post-name instead of yoursite.com/?p=123.
Do not change permalink structure after publishing content. It breaks existing URLs.
Delete Default Content
WordPress installs with a sample post, sample page, and sample comment. Delete these before adding real content.
Install a Theme
The default WordPress theme might work for you, or you might want something different. Themes are managed under Appearance > Themes. The next piece in this series covers themes in more detail.
Install Essential Plugins
Some plugins should be installed early:
A security plugin (Wordfence, iThemes Security, or similar).
A backup plugin (UpdraftPlus is a common choice).
An SEO plugin (Yoast SEO or Rank Math).
A caching plugin if your host does not provide caching (WP Rocket, W3 Total Cache).
Plugins are installed under Plugins > Add New.
Set Up SSL
Your site should use HTTPS. Most modern hosts include free SSL certificates. Enable SSL in your hosting control panel. Then update the WordPress site URL to use HTTPS under Settings > General.
Configure Reading Settings
Go to Settings > Reading. Decide if your home page should be a static page or your latest posts. For most business sites, a static page makes sense.
Set Up Comment Settings
Go to Settings > Discussion. Decide how comments will work on your site. For business sites, you might disable comments entirely or require moderation.
Create Basic Pages
Every site needs a few basic pages: About, Contact, Privacy Policy, Terms of Service. Create these under Pages > Add New.
Common Installation Issues
Things sometimes go wrong.
Database Connection Error
If you see “Error establishing a database connection” after installation, the database credentials in wp-config.php are wrong. Check that the database name, username, password, and hostname match what you created.
White Screen After Login
Usually caused by a PHP error. Check with your host or enable WordPress debugging by adding define(‘WP_DEBUG’, true); to wp-config.php.
File Permission Errors
If WordPress cannot create files or update content, file permissions might be wrong. WordPress files should generally be 644 and directories should be 755.
Cannot Access Admin
If you cannot log in, double-check the username and password. If you forgot the password, use the password reset link on the login page. If the reset email does not come, check spam folder.
Installer Does Not Start
Sometimes the installer wizard does not appear when you visit your site. Check that the WordPress files are in the correct directory and that your domain is pointing to the right place.
Installing on Different Hosts
The specifics vary by host.
cPanel Hosts
Most cPanel hosts include Softaculous or a similar auto-installer. Look for the WordPress icon in the cPanel Softaculous section. Follow the installer.
Managed WordPress Hosts
Hosts like Kinsta and WP Engine handle WordPress installation as part of signup. Your site is often ready before you finish the signup process.
Cloud Hosting
For providers like AWS or Google Cloud, installation is more manual. Following their documentation or using specialized tools like Cloudways simplifies the process.
Local Development
To install WordPress on your computer for development, use tools like LocalWP, MAMP, or XAMPP. These provide the server environment WordPress needs.
Post-Installation Security
Security should be considered from day one.
Change Default Admin Username
If the installer created an “admin” user, change it or create a new admin account with a different name and delete the default one.
Enable Two-Factor Authentication
Install a 2FA plugin. Enable 2FA for admin accounts. An earlier piece in this series covered 2FA in detail.
Install Security Plugin
Wordfence, iThemes Security, or Sucuri provide baseline security. Install and configure one immediately.
Set Up Backups
Before making significant changes, set up automatic backups. UpdraftPlus is a popular option.
Update Everything
WordPress core, themes, and plugins should all be current. Check for updates and apply them.
Common First-Time Mistakes
New users stumble in predictable ways.
Not Setting Up Backups Early
Making changes before backups exist creates risk. Set up backups on day one.
Installing Too Many Plugins
The temptation to install everything is real. Resist it. Each plugin adds complexity. Start with essentials and add more as needed.
Skipping Security
New sites are targets from day one. Do not wait to add security. It should be part of the initial setup.
Not Learning the Basics
Trying to use WordPress without understanding the basics leads to frustration. Spend a couple of hours learning fundamentals.
Changing Permalinks Later
If you set the wrong permalink structure and change it after publishing content, you break URLs. Get it right at the start.
Ignoring Updates
Sites that never update accumulate vulnerabilities and compatibility issues. Set aside time regularly for updates.
Wrapping Up the Installation Process
Installing WordPress is straightforward when you follow a clear process. For most users, the one-click installation from a quality host is the right approach. For users who want more control or have specific requirements, manual installation is not difficult.
The important part is what happens right after installation. Basic settings. Essential plugins. Security setup. Backup configuration. These early steps set the foundation for everything that follows.
Sites that start with proper initial setup have fewer problems than sites that skip steps. The extra hour spent on proper configuration saves many hours of problems later.
If you have installed WordPress and started using it without going through the basic setup steps, going back to check them is worthwhile. Verify permalink structure. Check that SSL is properly configured. Make sure backups are running. Confirm security plugins are active.
For most sites, WordPress installation is a one-time event. The site runs for years afterward. Getting the foundation right at the start means the years afterward have a solid base to build on. Take the time to do it properly, and the ongoing work of running a WordPress site becomes much easier. The tools have matured enough that installation is accessible to non-technical users. The remaining work is following the process carefully and paying attention to the setup steps that follow the installation itself.