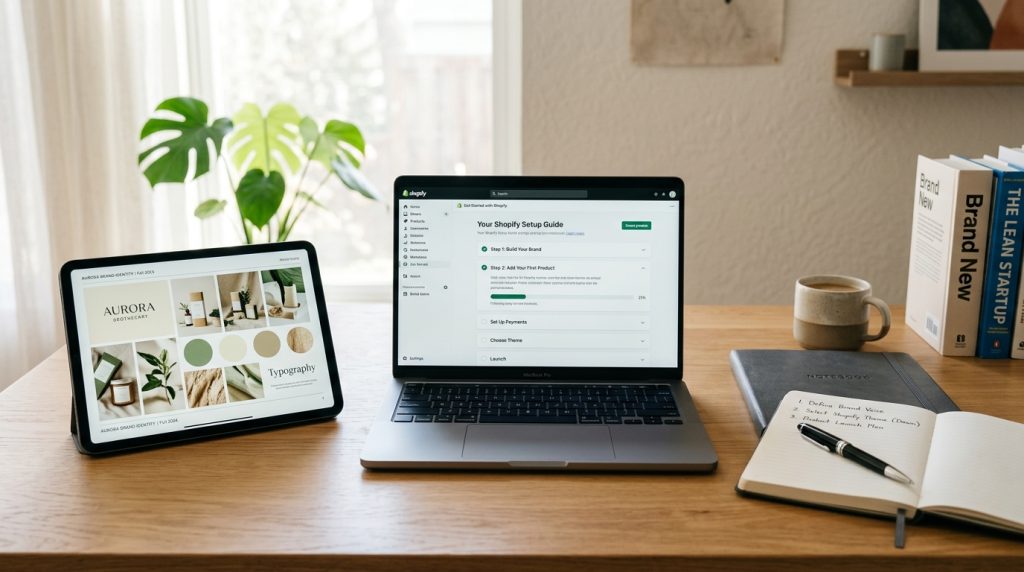
Setting up a Shopify store is one of the more accessible ways to start selling online. What used to require significant technical work can now be done in days by anyone willing to follow a process. The platform handles the difficult parts. You focus on your business.
But there is more to a proper Shopify setup than just signing up. Skipping steps or rushing through configuration leaves gaps that affect the store later. Taking time to set things up properly at the start prevents problems and produces a store ready for real customers.
This piece walks through the setup process in order. What to do first. What to configure. What to test before launch. Follow this and your store will be ready for business.
Before You Start
Some preparation makes setup smoother.
Business Basics
Before touching Shopify, have basic business information ready. Business name. Business address. Tax identification numbers if applicable.
For sole proprietors, personal information may be enough. For LLCs and corporations, have the entity documents accessible.
Product Information
Prepare product information. Titles, descriptions, prices, images. The more you have ready, the faster setup goes.
Product photography matters. If you have not taken photos yet, plan for this. Photos significantly affect sales.
Banking Information
You will need bank account details for payouts from Shopify Payments. Have the account number and routing number ready.
Legal Pages
Terms of service. Privacy policy. Refund policy. Shopify can generate starter versions of these, but you may want to have professionally reviewed versions ready.
Brand Elements
Logo files. Brand colors. Font preferences. Having these ready makes theme configuration faster.
Signing Up
The starting point.
Create Your Account
Go to shopify.com. Click Start Free Trial or similar. Enter your email address. Choose a password. Create a store name.
The store name becomes part of your temporary URL (yourstorename.myshopify.com). You will connect a custom domain later.
Provide Business Information
Answer questions about your business. Products you sell. Whether you have selling experience. Estimated revenue. This information helps Shopify recommend features.
Choose Your Plan
Trial usually starts with Basic Shopify. You can change plans later. During the trial period, you can explore features without committing.
Choose Your Theme
The theme controls appearance.
Browse Free Themes
Shopify includes several free themes. Dawn is the current default reference theme. Others include options for different business types.
For getting started, free themes work fine. You can upgrade later.
Browse Premium Themes
Premium themes typically cost $180-$350 one-time. More features, more design options, better mobile experiences typically.
For serious businesses, premium themes are usually worth the cost.
Preview Themes
Preview themes with sample data. See how they might look with your products.
Install & Activate
Once you choose, install the theme. It becomes available in your admin. Activate to make it the current theme.
The earlier piece in this series covered Shopify themes in detail.
Basic Store Settings
Configure the fundamentals.
Store Details
Under Settings > General. Set the store name that appears in browser tabs and communications. Set the store address. Set the store industry. Set currency.
Timezone
Set your timezone under the general settings. This affects when reports show data and when scheduled features run.
Standards & Formats
Configure how weights, distances, and other units display. Match to your market.
Store Currency
Set the currency your store operates in. This is your base currency. Additional currencies for international selling get configured separately.
Add Products
The core of your store.
Add Your First Product
Under Products > Add product. Enter the product title. Write the description. Upload images. Set the price. Configure inventory.
Product Details
Product title: clear and descriptive.
Description: detailed, informative, and formatted for readability. Include what customers need to know.
Images: high quality, multiple angles. Show the product clearly.
Price: your selling price. Compare-at-price shows sale pricing.
Variants
If your product has options (sizes, colors), configure variants. Each variant can have its own price, inventory, and SKU.
The upcoming piece covers variants in detail.
Inventory
SKU (stock keeping unit) for your reference. Barcode if applicable. Track quantity to enable inventory tracking.
Shipping
Weight for shipping calculations. Requires shipping should be checked for physical products.
Search Engine Listing
Optimize the meta title and description. This affects how the product appears in search results.
Publish
Save the product. Set it as active to make it available in the store.
Add more products following the same process.
Create Collections
Organize products for browsing.
What Collections Do
Collections group related products. They give customers ways to browse. New Arrivals. Sale. By Category. By Brand.
Manual Collections
You manually add specific products to the collection. Good for curated selections.
Automated Collections
Products get added automatically based on criteria you set. All products with a specific tag. All products above a specific price. Good for large catalogs.
Set Up Featured Collections
Create the main collections your store will feature. These become the main navigation categories.
An upcoming piece covers collections in detail.
Configure Navigation
Menus help customers find products.
Main Menu
Under Online Store > Navigation. Edit the main menu that appears in the header. Add links to collections, pages, and other destinations.
Keep the main menu focused. 5-8 items is usually right. More becomes overwhelming.
Footer Menu
Configure the footer menu. Important pages like About, Contact, Terms, Privacy, Returns.
Additional Menus
Some themes support additional menus. Configure as your theme requires.
Configure Payment Methods
Set up how you accept payment.
Shopify Payments
Under Settings > Payments. Set up Shopify Payments as the primary payment method.
Provide required business information. Bank account for payouts. Business documentation for verification.
Shopify Payments avoids Shopify’s additional transaction fees that apply to other processors.
Additional Payment Methods
Add PayPal if you want to offer it. Add other payment methods as needed.
Enable Digital Wallets
Enable Apple Pay, Google Pay, and Shop Pay through the payment settings. These wallets significantly improve mobile checkout.
Manual Payment Methods
For specific business models, enable bank transfers, money orders, or other manual payment methods.
Configure Shipping
Handle physical delivery.
Shipping Zones
Under Settings > Shipping and delivery. Set up zones for different geographic areas. Domestic zone for your country. Additional zones for international.
Shipping Rates
For each zone, configure shipping rates. Options include:
Flat rate: same rate regardless of order size.
Free shipping: no charge (may have minimum order value).
Calculated rates: rates from carriers like USPS, UPS, or FedEx based on weight and destination.
Handling Fees
Add handling fees to shipping rates if applicable.
Pickup Options
For local businesses, enable local pickup as an option.
Configure Taxes
Handle sales tax properly.
Tax Settings
Under Settings > Taxes and duties. Configure how taxes work for your business.
Automatic Tax Calculation
Shopify can automatically calculate taxes for many jurisdictions. This is usually the right choice for most stores.
For US sellers, this includes automatic calculation for states where you have tax nexus.
Tax Registration
For each jurisdiction where you collect tax, register your business with the tax authorities. Provide your registration information to Shopify.
Product Tax Categories
For products with special tax treatment (some jurisdictions tax clothing differently from other goods), set tax categories on individual products.
Professional Help
Sales tax is complex. Consulting a tax professional for your specific situation is often worthwhile.
Configure Email Notifications
Set up transactional emails.
Order Notifications
Under Settings > Notifications. Customize the emails Shopify sends. Order confirmations, shipping notifications, receipts.
Store Notifications
Configure notifications you receive. New orders, low stock alerts, contact form submissions.
Sender Information
Configure how emails appear to appear from. Store name and reply-to address.
Test Emails
Send test emails to verify they look right and arrive properly.
Set Up Analytics
Track store performance.
Google Analytics
Under Online Store > Preferences. Add your Google Analytics tracking code.
Actually, Shopify integrates with Google Analytics 4 through the platform now. Configure through the Shopify admin.
Facebook Pixel
If you plan to run Facebook or Instagram ads, add your Facebook Pixel.
Other Tracking
Add any other tracking codes for services you use.
Add Custom Domain
Move from myshopify.com to your own domain.
Buy Through Shopify
You can buy a domain through Shopify. Simple to manage in one place.
Connect Existing Domain
Point an existing domain from another registrar. Instructions vary by registrar. Shopify provides guidance.
DNS changes take time to propagate. Plan for 24-48 hours.
Set Primary Domain
Configure your custom domain as the primary domain. Traffic to myshopify.com will redirect to your custom domain.
Legal Pages
Required or recommended pages.
Privacy Policy
Required in most jurisdictions. Shopify can generate a starter policy through Settings > Legal.
Customize the starter to fit your actual practices.
Terms of Service
Sets the rules for using your store. Also available as a Shopify starter.
Refund Policy
Clear refund policy prevents disputes. Set expectations clearly.
Shipping Policy
Explains how and when orders ship.
Cookie Policy
Required in some jurisdictions for GDPR and similar compliance.
Test Everything
Before launch.
Test the Purchase Flow
Walk through the complete purchase yourself. Add products to cart. Check out. Verify emails arrive. Test different payment methods.
Test on Multiple Devices
Desktop. Mobile. Tablet. Verify the store looks and works right on each.
Test Different Browsers
Chrome, Firefox, Safari. Some issues appear on specific browsers.
Test Error Cases
Try invalid inputs. Try declined cards (Shopify has test card numbers). See what happens.
Have Others Test
Friends and family can test as unbiased visitors. Their feedback catches things you missed.
Launch Preparation
Final steps before opening.
Remove Password
During setup, your store has a password. Remove it to make the store public.
Under Online Store > Preferences.
Verify SEO Basics
Check that title tags and meta descriptions are set. Sitemap is generated. Search engines can find your store.
Set Up Social Sharing
Configure how the store appears when shared on social media. Open Graph settings.
Announce Launch
Prepare launch communications. Email announcements. Social media posts. Whatever fits your marketing plan.
Closing Thoughts on Getting Your Store Live
Setting up a Shopify store is not particularly hard but takes methodical work. Each step matters. Skipping steps creates problems later.
For most new store owners, the process from signup to launch takes days to weeks depending on how much product setup is involved and how thorough the configuration is.
The temptation to launch fast is real. Resist it in favor of proper setup. A store launched properly serves the business well. A store launched with configuration problems creates ongoing friction.
For businesses with many products, the product entry work takes the most time. Consider whether hiring help for data entry makes sense.
For businesses with technical concerns, most Shopify setup does not require technical skills. Some advanced customization does, but the basic setup is accessible to non-technical users.
The Shopify platform handles most technical work. Your job is business setup and content. Focus on what you can control and let Shopify handle the rest.
After launch, the ongoing work of running the store begins. Product management. Order fulfillment. Customer service. Marketing. Each is significant work. The setup was just the beginning.
For sites planning to launch on Shopify, follow the process methodically. Configure each area properly. Test thoroughly. Launch when the store actually works well.
The store that launches properly can grow into a successful business. The store that launches with problems fights those problems while trying to grow. The initial setup work sets the foundation for everything that follows. Take the time to do it right, and the ongoing operation of your store becomes much easier.